What to do with a Raspberry Pi. Part 362: Create a timelapse camera
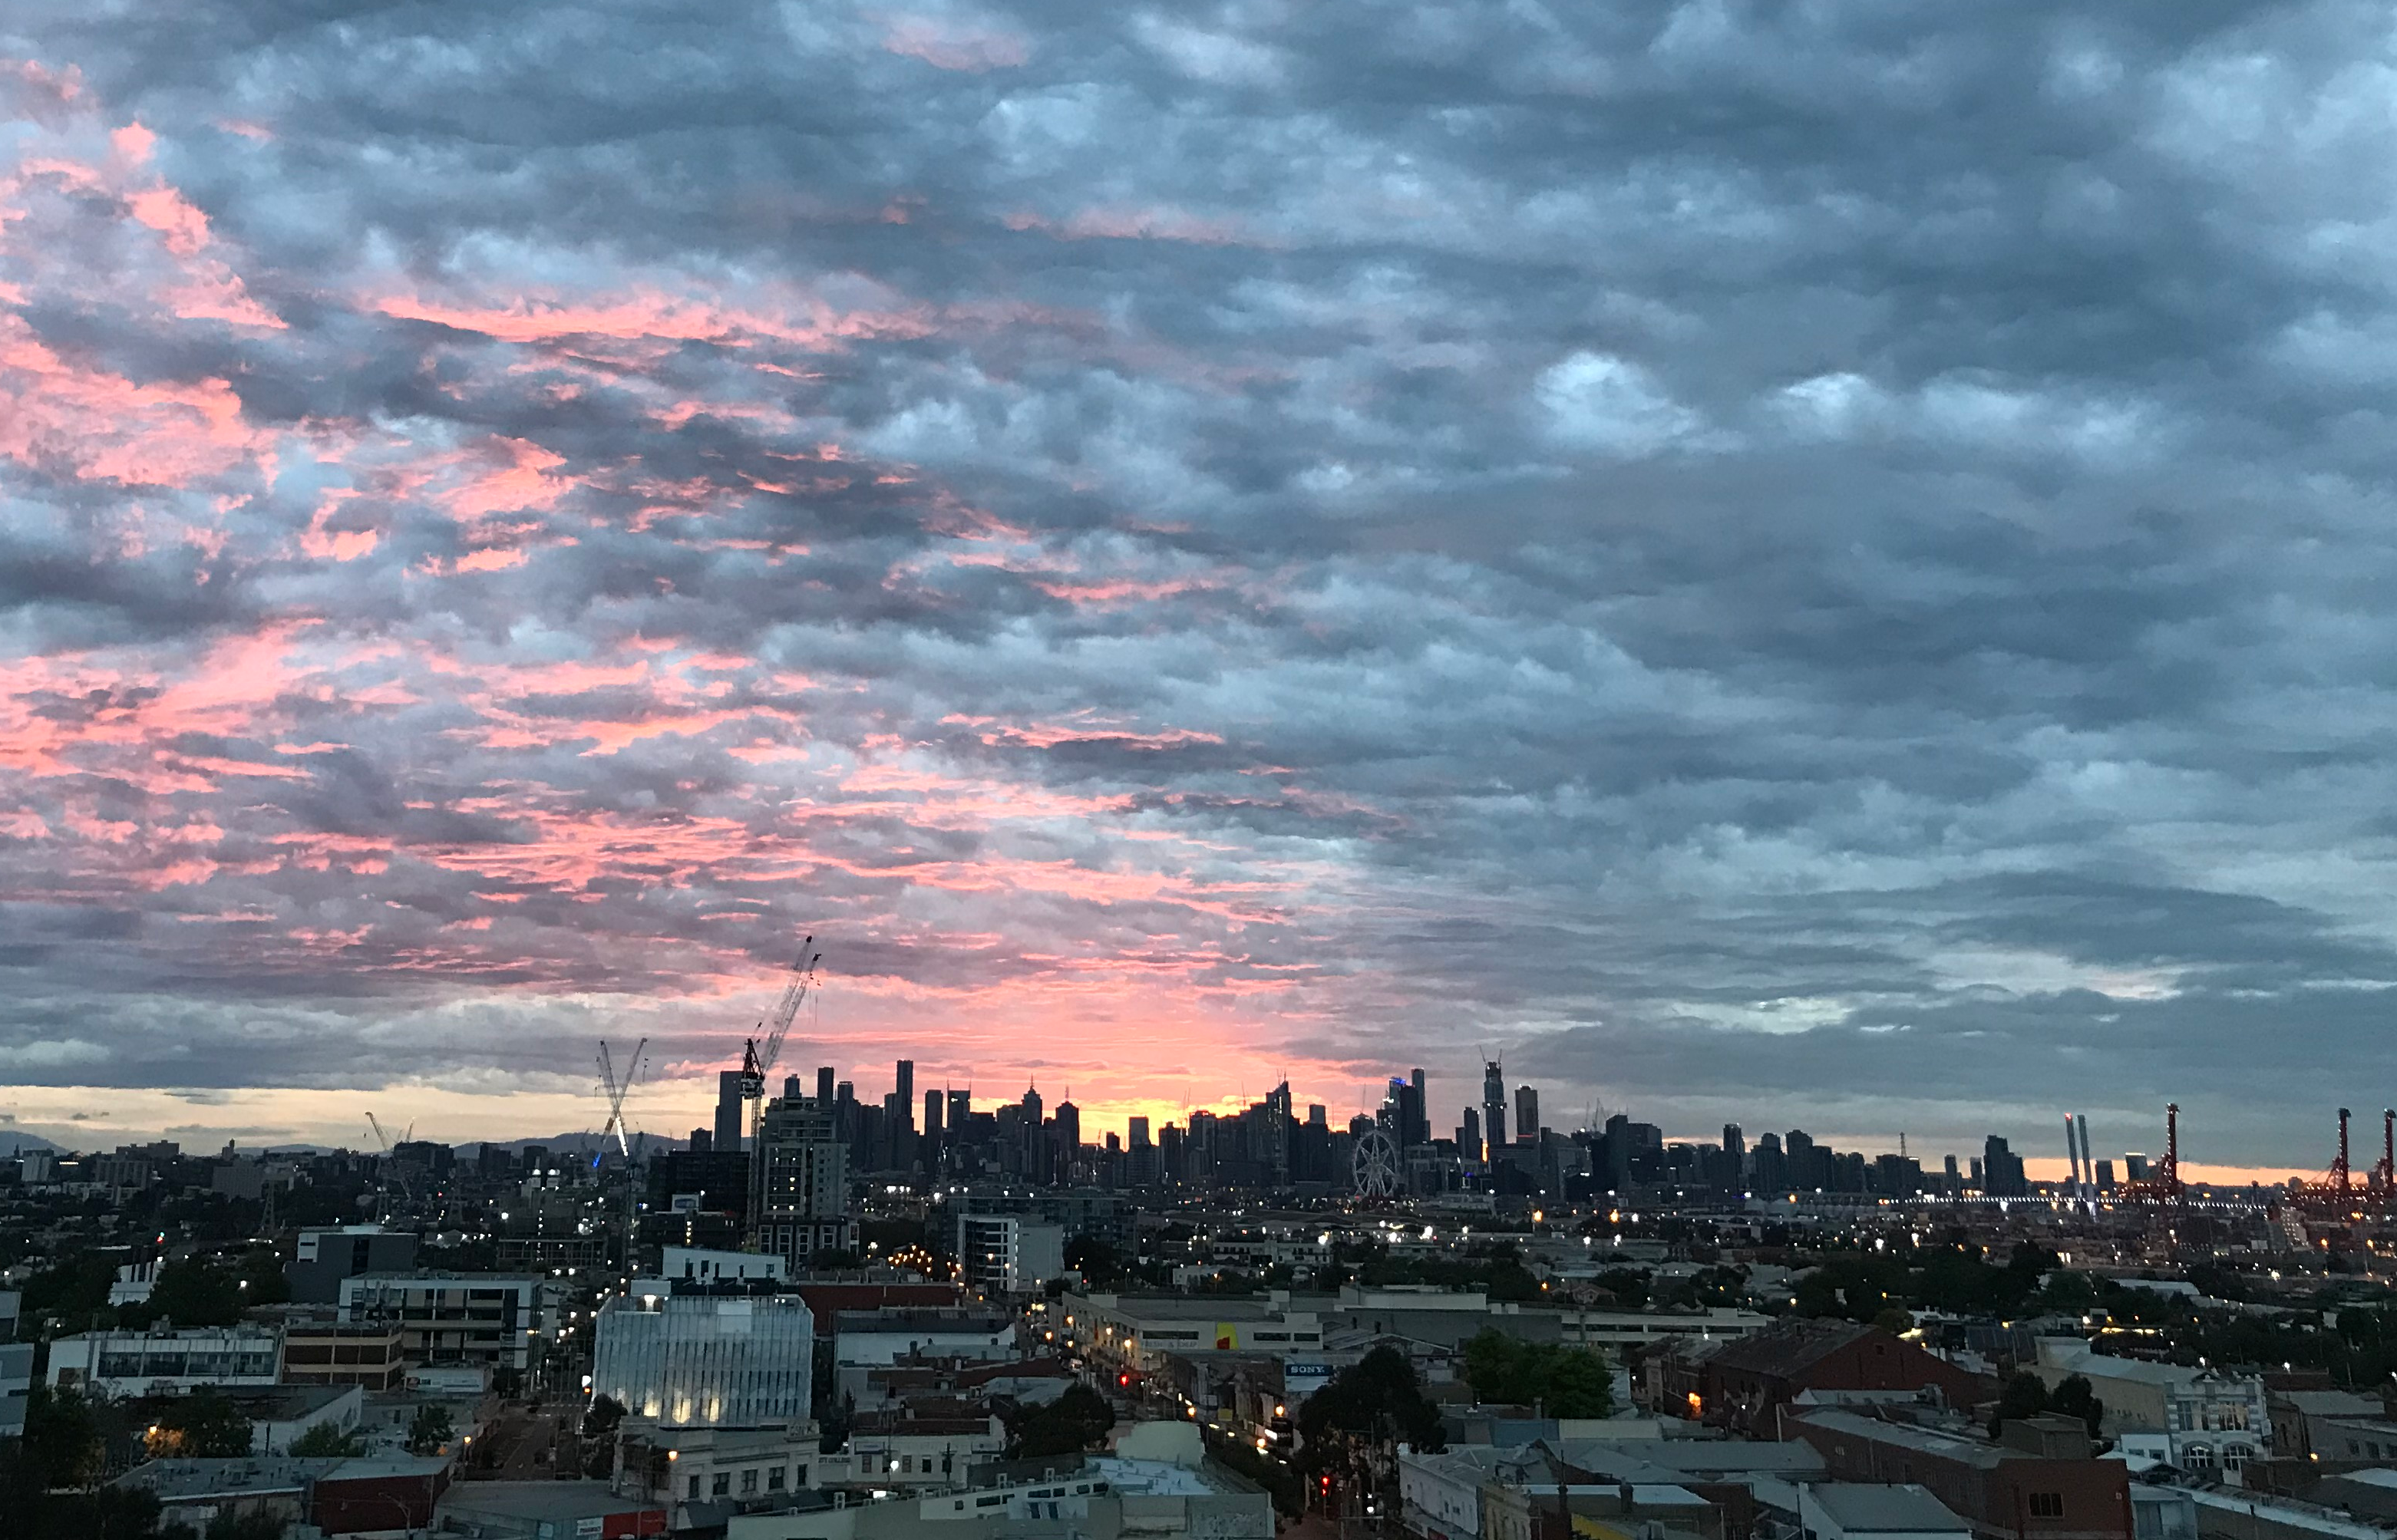
Like many who are in IT, I have a plethora of old and new Raspberry Pi’s floating around home and the office. However, unlike many, I am quite fortunate to have a rather unobstructed view of the Melbourne skyline (for now).
Goals
Ultimately, I want something I can stick on my study window and forget about it, for years hopefully.
Ideally, I would like it to do the following things.
- Take a time lapse photo every minute
- After 24 hours, assemble the time lapse video using ffmpg
- After a time lapse video is created, upload the video somewhere else and remove it from the Pi
- (optional) Create a simple statically generated HTML page of videos in chronological order
Hardware
I recommend any of the WiFi variants of the Raspberry Pi, but any works fine.
- Raspberry Pi (1,2,3,4,etc)
- SD Card with raspbian installed. (I recommend the minimal image)
- Pi Camera (if using a Pi Zero, you’ll need a different ribbon cable. Google it.)
I also recommend some form of case. For my use, I found a hard cardboard box. Once I cut a whole out and used a disgusting amount of bluetac, this is the end result.
Taking the snapshot
Raspian has raspistill installed by default. I am using this script, triggered by cron to take a photo every minute.
snapshot.sh
#!/bin/bash

DATE=$(date +"%Y-%m-%dT%H:%M:%SZ")
SNAPSHOTS_DIR=/home/pi/snapshots
SNAPSHOT_PATH="$SNAPSHOTS_DIR/$DATE.jpg"

mkdir -p "$SNAPSHOTS_DIR"
raspistill --width 1280 --height 960 --quality 100 --output "$SNAPSHOT_PATH"
Take a look at the raspistill man page and you’ll find a bunch of other options that may help you optimize you snapshots.
Building a time lapse using with ffmpeg using the resulting snapshots
And assembling the resulting 1440 images using ffmpeg and rsyncing to my webserver by executing the following via cron every 24 hours:
maketimelapse.sh
#!/bin/bash

SNAPSHOT_DIR=/home/pi/snapshots/
DATE=$(date +"%Y-%m-%d")
FILENAME=$DATE--timelapse.mp4

cat $SNAPSHOT_DIR/$DATE*.jpg | $(which ffmpeg) -r 25 -i - -c:v libx264 -vf "format=yuv420p,scale=1280:-2" /home/pi/$FILENAME

# Make sure our yearly directory has been created
$(which ssh) user@server mkdir -p /var/www/html/timelapses/data/$(date +"%Y")

$(which rsync) -a $FILENAME user@server:/var/www/html/timelapses/data/$(date +"%Y")

rm $SNAPSHOT_DIR/$DATE*
rm /home/pi/$FILENAME
The above snippet is also creating a folder on the remote host for each year based on the date the video is created. This will prove useful when creating a static page listing of all videos.
The result
And a 10 second gif version of the resulting time lapse. You can find more here
How did I create the gif?
ffmpeg -ss 25 -t 10 -i input.mp4 -vf "fps=10,scale=640:-1:flags=lanczos,split[s0][s1];[s0]palettegen[p];[s1][p]paletteuse" -loop 0 output.gif
- -ss Skips the first 25 seconds
- -t Desired length (in seconds) of the resulting GIF
- -vf fps and scale are pretty self explanatory, the rest is specific to actually outputting a GIF
- -loop How many times should the GIF loop?
NOTE
The resulting video has a timestamp burnt in, whereas the above code examples do not. If this is something you’d like, take a look at this StackOverflow question: https://stackoverflow.com/questions/3169916/can-ffmpeg-burn-in-time-code